I wanted to have nice coloured bullets, to go with the colour scheme I used for the headings, not the default black ones. I didn't want to use image bullets, I just wanted to use simple round coloured disc bullets.
It really doesn't take too much to change the colour of the bullets in Writer.
Note: I like to have Nonprinting Characters showing when I use Writer, because I am less likely to miss empty paragraphs, wreck styles, etc.
Step One: Open up Writer, create a simple list
- Kind of
- like
- this
- one
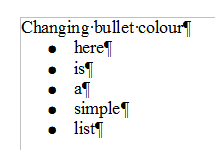
Step Two: Left click your mouse to the Left (in the margin). See the little "I" beam? - I'm just holding the mouse to the left so you can see where I clicked.
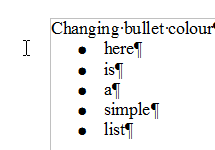 When you have actually clicked, the bullet fields will actually show up. The cursor will blink on the left of the bullet. (You can see the cursor is next to the word 'here')
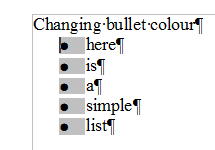
Step Two: Right click your mouse to bring up the context menu, and then select "Character"
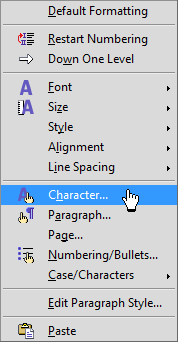 This will bring up this window:
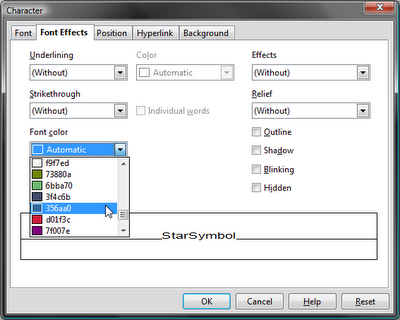
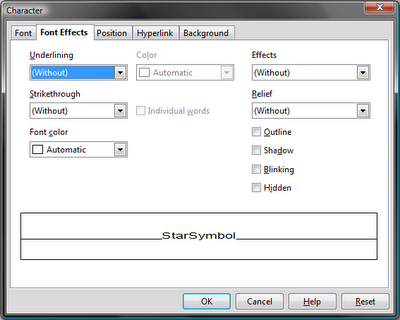 Step Three: Click on "Font Color", and choose a nice colour. I chose a customised colour that I had created to suit myself:
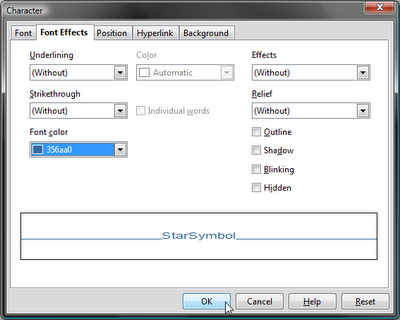
 Step Four: Click on "Ok":
Notice the cursor is still on the left of the bullet? And the bullet fields are still selected? To deselect (get away from) the bullet fields, click somewhere to the right.
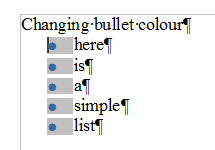 Step Five: Enjoy making your nice, different coloured bullets!
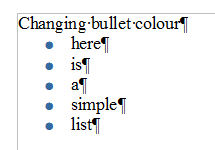 This also works for numbering too!

No comments:
Post a Comment